
A logo looks sharp on a digital proof, yet the bulk bags arrive with lost detail, weak contrast, or print crossing a seam. A custom first aid kit logo should be selected as a material-and-process decision, not added to an RFQ as a single line that says “print our logo.”
The practical answer is to match the method to the bag or case substrate, logo detail, print area, expected handling, order quantity, and replacement plan. Screen printing often suits simple artwork on accessible fabric panels. Heat transfer can carry finer or multicolor artwork on compatible materials. Embroidery and patches create a textile badge effect. Labels, pad printing, UV printing, or molded marks may suit rigid cases. Every choice still needs supplier feasibility review and an approved physical sample.
How should buyers choose a custom first aid kit logo method?
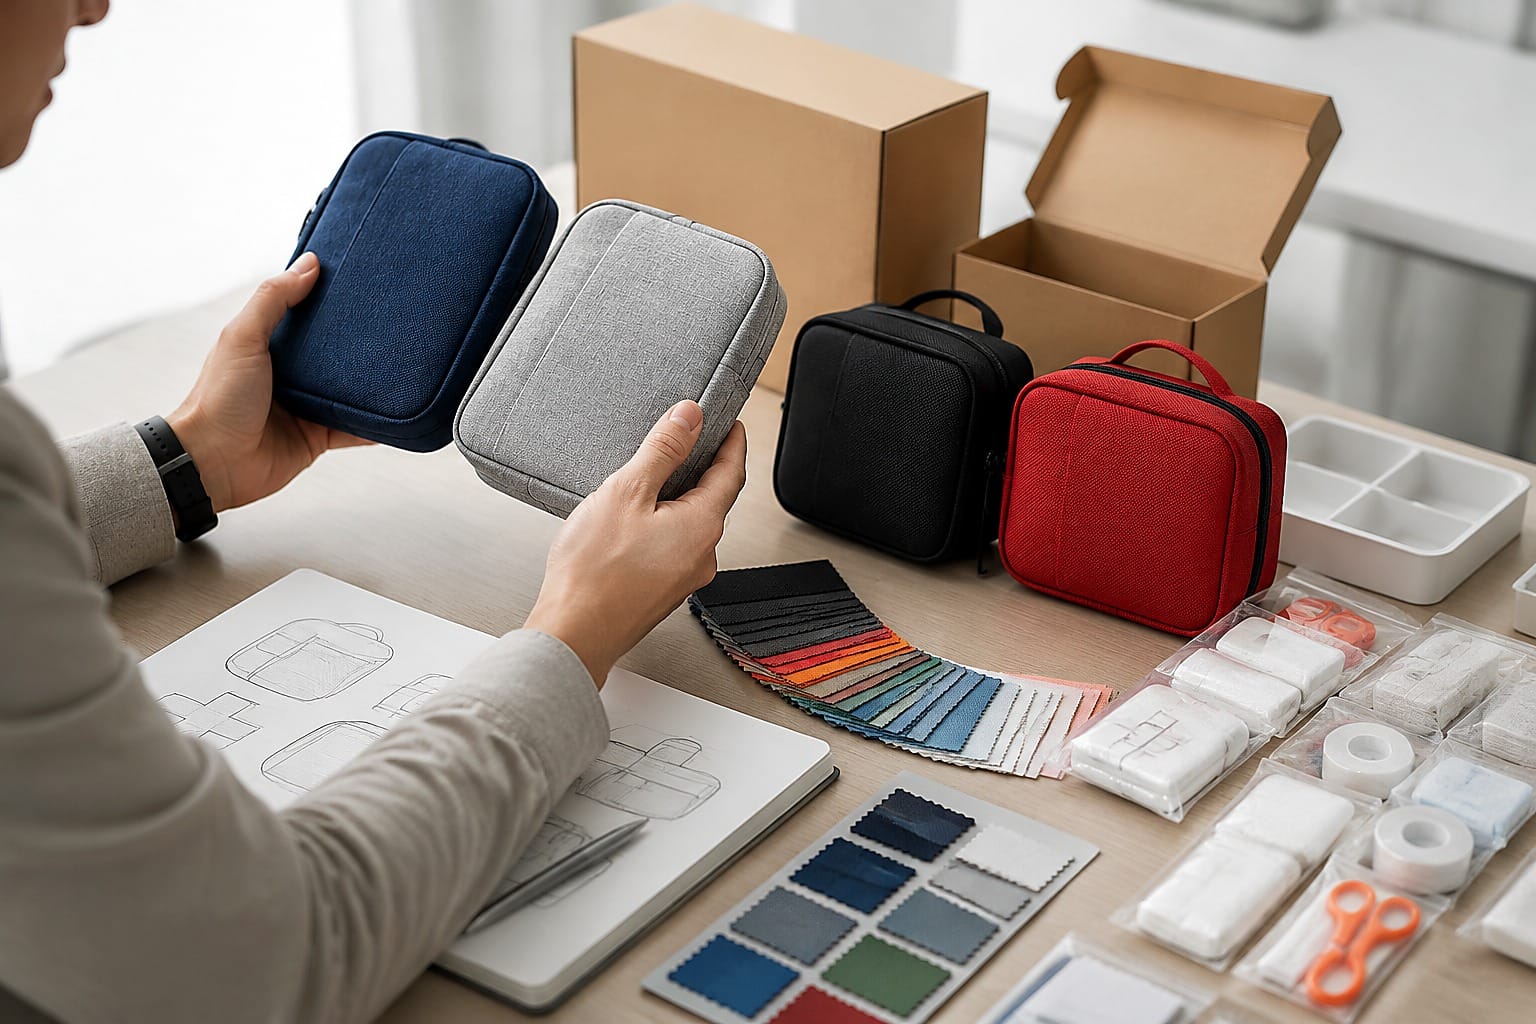
Start with the unbranded container specification. A printing method cannot correct a bag panel that is too textured, a case surface that is sharply curved, or a logo area interrupted by webbing and zippers. Ask the supplier to identify the actual substrate and coating at the proposed application point, not only the general bag material.
Use this seven-step decision sequence:
- Freeze the bag, pouch, box, or case model and its material description.
- Mark the exact logo position and maximum application area on a dimensioned drawing.
- Classify the artwork by color count, fine lines, small text, gradients, and required background contrast.
- State expected handling, cleaning, flexing, outdoor exposure, and storage conditions without making unsupported performance claims.
- Ask which methods are feasible on the quoted substrate and which element drives setup cost or MOQ.
- Approve a production-process sample, not only a digital placement proof.
- Record the approved method, artwork revision, color reference, dimensions, position, and sample ID in the purchase specification.
This sequence matters because the same logo can behave differently on woven polyester, coated nylon, molded plastic, painted metal, and a textured hard case. Even two visually similar red bags may use different coatings or surface finishes. The supplier should disclose those differences before artwork release.
For the wider sample-to-bulk process, use the OEM private-label first aid kit guide as the project control document. The logo method should connect to the same BOM, container specification, sample record, and change process.
Which logo methods fit bags, pouches, and hard cases?
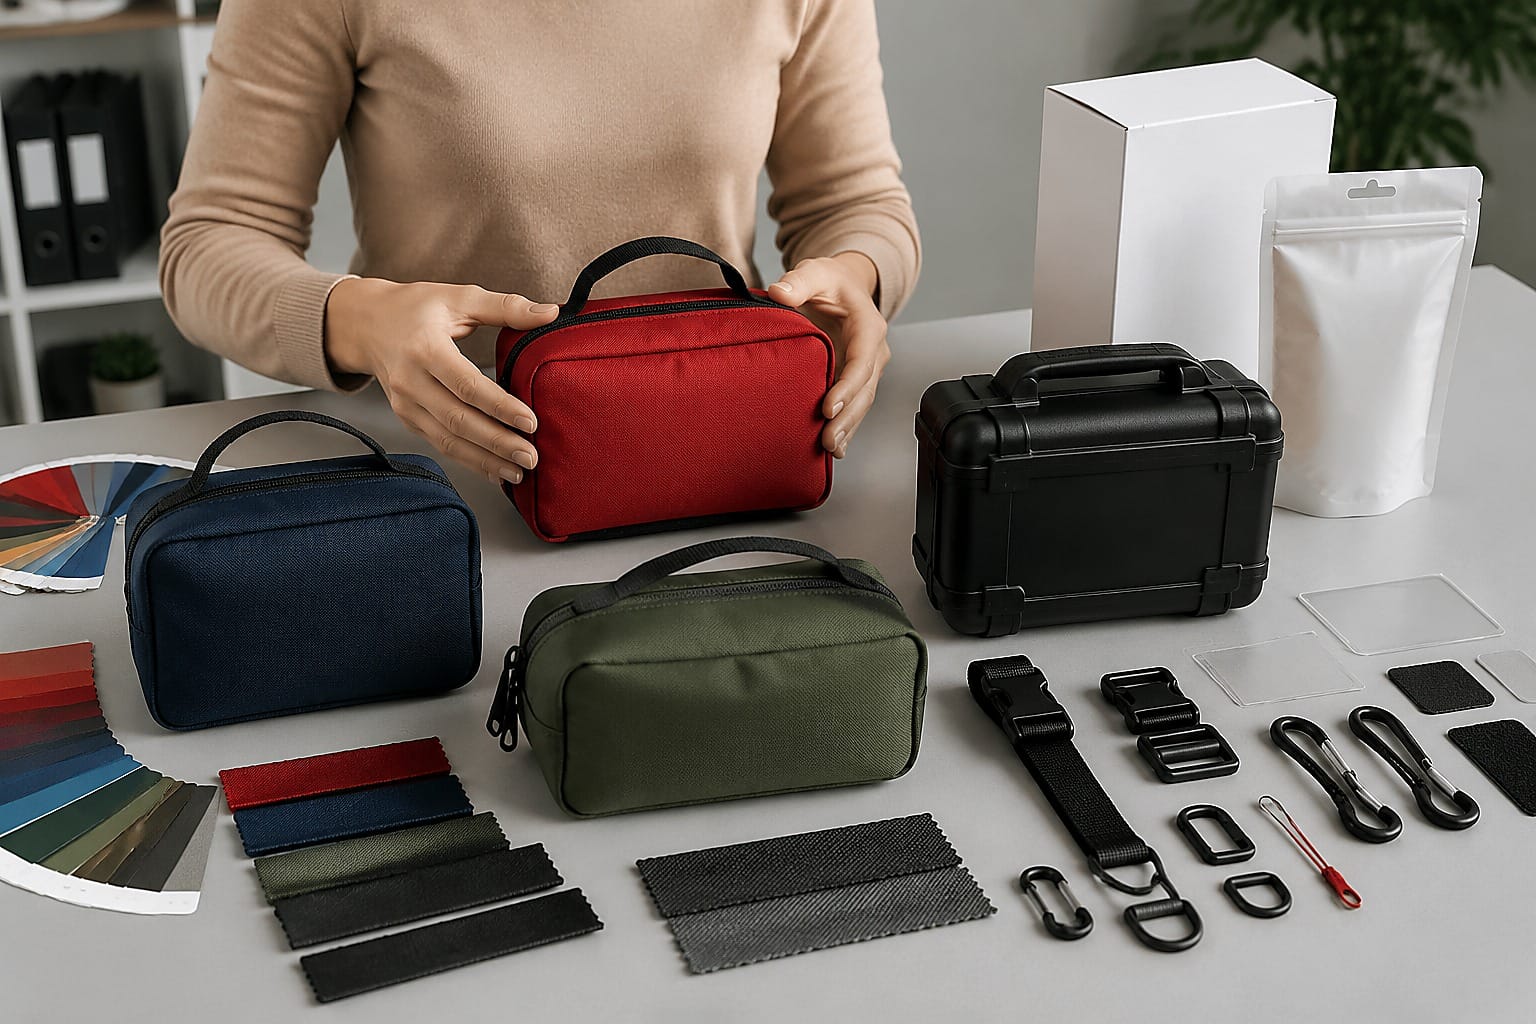
No method is universal. The following table is a sourcing comparison, not a production promise. Actual feasibility depends on the quoted material, coating, construction, equipment, artwork, and order quantity.
| Branding method | Typical starting use | Main advantages | Limits to verify | Sample evidence |
|---|---|---|---|---|
| Screen printing | Simple one-color or limited-color artwork on an accessible fabric panel | Direct application and economical repeat production where setup is spread across volume | Ink compatibility, textured weave, color opacity, registration, seams, panel access | Printed production-material panel or finished bag |
| Heat transfer | Fine detail, several colors, or variable graphics on compatible textile panels | Can reproduce detail without separate stitching around every element | Heat and pressure compatibility, film edge, cracking, peeling, gloss, coated-fabric change | Finished application after flex and rub checks |
| Embroidery | Bold marks on fabric panels with enough structure and clearance | Tactile textile appearance and no printed film surface | Small text, dense detail, backing visibility, panel stiffness, needle penetration, seam access | Finished panel showing front and reverse construction |
| Sewn woven or embroidered patch | Modular branding, stock bags, programs that may replace or revise a badge | Patch can be produced separately and attached to a standard container | Added thickness, border shape, stitch path, snag points, removal policy | Finished attached patch with dimensions and stitch specification |
| Molded rubber or plastic badge | Tactile multicolor badge on compatible soft bags or cases | Raised form and separate badge production | Tooling, attachment method, material disclosure, color tolerance, odor, edge lift | Finished badge attached by the proposed production method |
| Pressure-sensitive label | Shorter runs, serialized programs, or smooth rigid surfaces | Separate label production and easy information changes | Adhesive compatibility, texture, edge lift, temperature, moisture, cleaning, residue | Label on the actual case after conditioning and adhesion checks |
| Pad or direct digital printing | Small marks on rigid or mildly contoured case surfaces | Direct mark without a sewn textile component | Curvature, surface energy, texture, opacity, scratch resistance, fixture consistency | Printed production case from the proposed line |
| Embossed, debossed, or molded-in mark | Long-running molded case or component program | Integrated form with no separate printed layer | Tooling cost, limited color effect, mold ownership, revision cost, long-run commitment | Tool drawing, first article, and approved molded reference |
Screen printing is often the first quotation route for a simple custom first aid kit logo, but “screen print” is not a complete specification. Record the number of colors, finished dimensions, position tolerance, ink or print-system reference, background material, and approved sample. A white mark on red fabric may need a different production approach from a dark mark on a pale uncoated panel.
Heat transfer is useful when artwork has several colors or detail that would be difficult to separate cleanly. The buyer should still inspect the edge, surface feel, flexibility, and behavior on the exact coated or uncoated fabric. A successful transfer on a flat swatch does not prove that the production bag can be pressed safely beside padding, binding, or a zipper.
Embroidery works when the logo can tolerate thread-based simplification. Very small letters, narrow gaps, and color gradients may need artwork changes. Ask for the stitch area, thread colors, backing, reverse-side finish, and panel construction. Confirm that the logo does not make a pocket stiff or interfere with a lining, divider, or water-resistant construction claim.
Patches separate badge production from bag production. That can help a buyer use one base bag across several channels or languages. It also creates another controlled component. The RFQ should state whether the patch is permanently sewn, attached with hook-and-loop, or supplied separately, and whether removal is intended.
Rigid cases need their own review. A pressure-sensitive label may be practical for a trial program, while direct printing or a molded mark may fit a stable high-volume design. Surface texture, curves, mold-release residue, paint, and cleaning agents can affect the result. Ask the supplier to test the actual production surface.
Buyers can review emergency medical bag formats before fixing the logo area. Format selection comes first because pockets, folds, handles, and access panels determine where branding can be applied and inspected.
What artwork should a supplier receive before sampling?
A screenshot or logo copied from a website is not a controlled print file. Supply an artwork pack with a revision number and a named approver. Adobe’s explanation of vector and raster files notes that vector graphics use mathematical equations and can be resized without the pixelation associated with raster images. That makes an approved vector master a useful starting point for scaling and color separation.
The artwork pack should contain:
- An editable vector master, plus a view-only PDF for comparison.
- Full-color, one-color, reversed, and black versions where the brand permits them.
- Named color references and the intended print system.
- Minimum logo width, minimum text size, clear space, and prohibited alterations.
- Finished application dimensions and a dimensioned placement drawing.
- The substrate color and material beneath the mark.
- Ownership or authorization evidence where the supplier requests it.
- File ID, revision, release date, approver, and superseded-file list.
Pantone describes its systems as tools for selecting, communicating, and matching color. A Pantone reference can improve communication, but it does not make every substrate or print process visually identical. Fabric texture, coating, ink film, thread, molded material, gloss, and lighting all influence appearance. Approve an allowed visual range or physical reference rather than treating one code as the complete acceptance rule.
Do not place operational content inside the brand artwork unless it is controlled as label content. A logo file, contents list, barcode, importer detail, product identifier, and language panel may follow different approval routes. Keeping them separate makes later address, barcode, or market-language changes easier to trace.
The International Committee of the Red Cross explains that the red cross, red crescent, and red crystal are protected emblems under international and national law. A buyer should not assume that a cross-shaped medical graphic is available for unrestricted commercial branding. Review the proposed symbol, color, jurisdiction, and authorized use before releasing artwork.
How should logo color, size, and placement be specified?
Define what the factory can measure. “Centered on the front” is ambiguous when a bag has a curved top, asymmetrical pockets, or a handle that changes the visible center.
A custom first aid kit logo placement record should state:
| Field | Example of a controlled entry |
|---|---|
| Application | Front upper pocket, outer face |
| Finished size | Width and height in millimeters |
| Position | Distances from named seam, edge, zipper, or molded datum |
| Orientation | Parallel to specified seam or case edge |
| Background | Named material, finish, and production color |
| Method | Screen print, transfer, embroidery, patch, label, or other approved route |
| Color | Named spot, process build, thread code, or approved physical reference |
| Tolerance | Buyer-approved dimensional and position range |
| Artwork | File name, ID, and revision |
| Reference | Approved swatch or finished-sample ID |
Place the mark where it remains visible during intended use but does not cover identification panels, inspection windows, instructions, reflective elements, attachment points, or closures. Check the bag both empty and loaded. A panel can bow after packing, which changes apparent alignment and may crease a transfer.
Ask the supplier to show the printable area before finalizing dimensions. Reducing the logo slightly may avoid a seam or zipper and produce a more consistent result. Enlarging it to fill every available millimeter can expose artwork to folds and abrasion.
Contrast also needs a physical review. A thin white line that looks clear on a screen may disappear into a coarse red weave. A dark logo may be unreadable on a black case under warehouse lighting. Approve the finished application from the expected viewing distance, not only a magnified proof.
If a barcode or scannable code shares the panel, control it separately. GS1 provides a barcode verification framework for checking identity data, while print and scan acceptance should follow the applicable barcode specification and the buyer’s system. Do not approve a scannable symbol from visual appearance alone.
What sample tests should buyers define for a custom first aid kit logo?
A digital proof checks content and approximate placement. It cannot show ink opacity, adhesive behavior, thread construction, film edge, texture, or the effect of flexing a loaded bag. The approval sample should use the intended production material, color, construction, method, and artwork revision.
Use a documented test plan rather than the instruction “make it durable.” A practical sample review can include:
- Compare the text, symbols, colors, dimensions, and position with released artwork.
- Photograph the application in consistent lighting with a scale reference.
- Inspect fine lines, closed counters in letters, registration, edges, loose thread, bubbles, and surface contamination.
- Flex, fold, open, close, carry, and load the container as intended for the project.
- Perform agreed dry and wet rub checks using defined cloth, force, cycle count, and acceptance criteria.
- Apply agreed cleaning or conditioning only if it represents the buyer’s real use case and material instructions.
- Check label or badge edges, stitching, backing, and attachment after conditioning.
- Record the sample ID, test conditions, result, exception, approver, and required correction.
For textile color transfer, ISO 105-X12 specifies a method for determining textile color fastness to rubbing. Its scope should be checked before use because a test for textile color fastness is not automatically an acceptance test for every ink, transfer film, patch, or complete bag. Buyers should define the test specimen, conditioning, assessment, and pass criteria with the responsible quality team.
For some coatings on rigid substrates, ASTM D3359 describes tape-test methods for assessing coating adhesion to metallic substrates. It also states limitations. It should not be cited as a universal label, fabric, or bag test. Use a standard only when its scope fits the material and failure mode.
The custom first aid kit logo sample is part of the pre-production reference. If the supplier changes fabric, coating, ink system, transfer film, thread, adhesive, badge material, equipment route, or application location, the buyer should decide whether a new sample is required.
Which defects and tolerances belong in the purchase specification?
“Logo defect” is too broad for inspection. Divide failures into categories that can be counted and resolved.
| Defect category | Examples | Control record |
|---|---|---|
| Wrong content | Old logo, misspelling, missing element, unapproved symbol | Artwork ID and visual master |
| Wrong color | Incorrect color reference, poor opacity, unapproved thread | Color reference and accepted sample |
| Position or size | Outside the stated tolerance, rotated, crosses excluded area | Dimensioned placement drawing |
| Registration or detail | Misaligned colors, filled small gaps, broken thin lines | Approved production sample |
| Surface defect | Peeling edge, bubble, crack, scratch, ink skip, loose thread | Method-specific defect standard |
| Attachment defect | Missed stitches, exposed backing, lifted badge, loose patch | Attachment specification |
| Container damage | Scorching, coating change, distortion, puncture in restricted area | Container specification and sample |
The buyer should classify which defects require rejection, rework, or documented concession. That decision depends on the application, order, contract, and risk. A cosmetic position shift may be handled differently from the wrong brand file or an unauthorized emblem.
Inspection also needs a sampling approach. The Cluster C pillar explains how sample, artwork, and bulk inspection records fit together. The purchase order should name the controlling artwork and sample, define inspection timing, and state who can approve a deviation.
Avoid approving a sample with the note “bulk should be better.” Either approve the sample as the reference, reject it, or approve a clearly documented correction that will be verified before full production. Ambiguous approval moves unresolved work into the bulk order.
How do logo choices affect MOQ, cost, and repeat orders?
The finished kit MOQ may not be the logo MOQ. Screen preparation, transfer setup, embroidery programming, patch production, label conversion, molded-badge tooling, and case fixtures can each create a separate cost or quantity driver. Ask the supplier to separate one-time setup, unit application, custom-component MOQ, and sample charges.
For a lower-volume launch, buyers can compare these options:
- Use a standard bag color and structure with one-color branding.
- Use a separately produced label or patch when the substrate and attachment route are suitable.
- Reduce logo colors or fine detail through an approved simplified artwork version.
- Share one base container across several kits while controlling each label or patch revision.
- Reserve molded-in branding or custom structural panels for a stable repeat program.
Lowering the number of custom layers can reduce a genuine setup constraint. It should not remove artwork control, sample approval, or inspection criteria. A short run still needs a repeatable reference.
For reorders, require the supplier to confirm whether the substrate, coating, background color, print system, transfer film, thread, patch, adhesive, tooling, and application location remain unchanged. “Same logo” does not prove the production route is unchanged. Record any proposed change before materials are committed.
Tool ownership also belongs in the commercial record. If the buyer pays for screens, dies, embroidery files, molds, plates, or fixtures, state who owns them, where they are stored, how long they are retained, and what happens when artwork changes. Do not assume a setup charge automatically transfers ownership.
What belongs in an RFQ for logo-branded kits and bags?
An RFQ should let suppliers quote equivalent branding scopes. Include a separate response line for each application rather than asking for one total “logo cost.”
| RFQ field | Buyer provides | Supplier confirms |
|---|---|---|
| Container | Model, material, color, construction, target quantity | Actual substrate at application point and feasibility |
| Artwork | Vector file, variants, color references, dimensions | Required file conversion or simplification |
| Placement | Dimensioned location and excluded areas | Printable area, fixture or access limits, tolerance proposal |
| Method | Preferred method or performance objective | Proposed process and material compatibility |
| Sample | Required quantity, tests, approval route | Sample cost, preparation factors, and production-process match |
| Commercial | Quantity tiers and reorder forecast | Setup, tooling, unit application, MOQ drivers, storage terms |
| Inspection | Defect categories and sampling request | In-process and final checks, records, deviation route |
| Continuity | Change-notice requirement | Controlled inputs and resampling triggers |
| Packing | Protection for printed or raised surfaces | Unit separation, abrasion prevention, carton arrangement |
Ask for alternatives when the preferred custom first aid kit logo method conflicts with the bag material or launch quantity. The response should explain the tradeoff. A lower setup option may have different edge, texture, color, or longevity characteristics. A higher-volume method may need tooling but reduce unit application work.
Keep branding separate from the kit contents quotation. This makes it easier to see whether cost changes come from the bag, logo, component BOM, retail packaging, or export packing. It also prevents a logo revision from silently changing the approved kit configuration.
Buyers preparing a supplier discussion can use UneedAid’s OEM and ODM project overview to identify the container, contents, branding, packaging, and sample layers that need separate confirmation. The final RFQ should still record the exact quoted method and production assumptions.
FAQ
Is screen printing suitable for every first aid bag material?
No. Screen printing depends on the actual textile, coating, texture, panel access, ink system, artwork, and production setup. A supplier should review the precise application area because a general material name such as polyester does not describe every weave or finish. Seams, padding, zippers, and pockets can also limit access or registration. Ask for a print on production material and, where construction may affect the result, a finished-bag sample. Record color, dimensions, position, and accepted appearance. Do not approve the method from a catalog photograph of a different bag.
Is embroidery more durable than a printed custom first aid kit logo?
The method name alone does not establish service life. Embroidery avoids a printed surface film, but thread, stitch density, backing, panel construction, abrasion, cleaning, and snag exposure still matter. Printing performance also varies by ink, transfer system, substrate, curing, and use conditions. Compare methods against a defined handling and inspection plan on the actual container. Embroidery may suit bold textile marks, while small lettering or gradients may need simplification. The approved sample and repeat-order controls are more useful than a general durability claim.
Can a buyer approve logo color from a PDF proof?
A PDF can confirm artwork content, approximate placement, and stated color references. It cannot reproduce every physical color result because screens, printers, fabric, ink, thread, gloss, texture, and lighting differ. Use the digital proof to approve geometry and file revision, then approve a physical swatch or finished application for appearance. Record the substrate, method, color reference, lighting or viewing conditions where important, and accepted sample ID. For repeat orders, compare the proposed materials and process with that reference before assuming the result will match.
What is the most practical logo method for a small trial order?
There is no single answer. A standard container with a simple print, compatible transfer, or separately produced label or patch may reduce structural customization, but each option has different setup, attachment, appearance, and inspection needs. Ask the supplier to quote two or three defined alternatives using the same bag and artwork dimensions. Compare setup cost, unit cost, MOQ driver, sample route, lead-time factors, and reorder consistency. A low initial charge is not useful if the method cannot meet the approved material, placement, or handling requirements.
When should a logo sample be repeated for a reorder?
Repeat or reconfirm the sample when a change could affect appearance or attachment. Examples include a new fabric, coating, case resin, background color, ink, transfer film, thread, patch supplier, adhesive, tool, machine route, application position, artwork revision, or logo size. The buyer can decide whether a swatch, first article, or complete loaded sample is proportionate. Require written change notice before production. If nothing changed, retain evidence that the supplier reviewed the controlled inputs against the prior approved reference.
A controlled custom first aid kit logo specification links the container material, artwork, method, placement, sample, defects, commercial drivers, and change rules. Approve the physical result and keep its revision with the wider OEM project file. That gives the buyer and supplier one measurable reference from quotation through repeat orders.