
A carton gets approved on screen. The factory then asks for the dieline, the buyer sends a new PDF, and three revisions later nobody can say which file the quotation was based on. That loop is common in private label first aid projects, and it is avoidable. A private label artwork prepress checklist exists to stop it by turning an artwork handover into a recorded release instead of an email attachment.
The short answer is to handle the handover as a document with named fields. Record the packaging structure and its finished size, the dieline revision, the substrate grade, the print system, the colour reference and its tolerance, the position of every regulated element, and the proof that defines acceptance. Fix those in writing before the file leaves the buyer, and two suppliers quoting the same job are describing the same object. That is what a private label artwork prepress checklist produces: a release record rather than a file transfer.
This article sits inside the same project file as the bag, the case and the contents. UneedAid’s OEM private-label first aid kit guide covers how sample, artwork and bulk records connect. Here the focus narrows to the prepress release itself, the single moment where a project file becomes a printable surface.
What should a private label artwork prepress checklist contain?
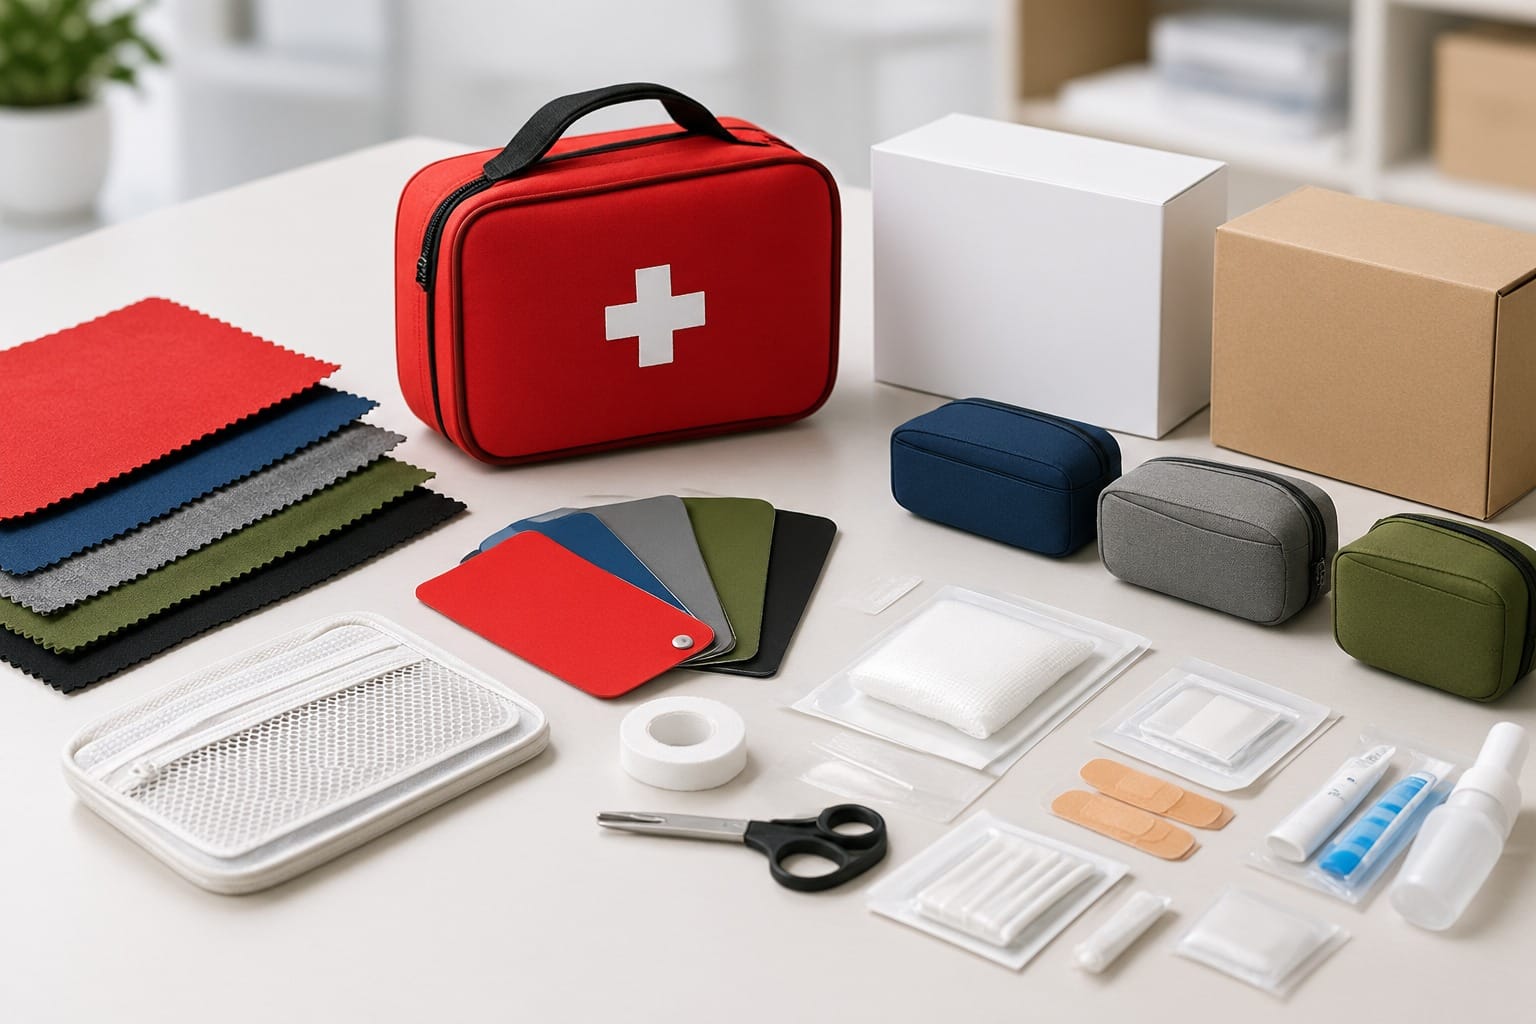
Most artwork delays are not design problems. They are missing fields. A designer produces something visually complete, and the factory discovers the gaps only when it starts to build the print file.
Run the same sequence on every SKU:
- Confirm the packaging structure and its finished external size.
- Attach the dieline and state its revision number.
- Name the substrate grade, thickness or grammage, and the surface finish at the print area.
- State the print system and the colour reference, not only a visual colour.
- Place every regulated and variable element: brand mark, product name, contents statement, batch field, market language panel, address block, barcode.
- Define the measured tolerance for position, size and colour, and name who measures it.
- Approve a production sample on the real substrate.
- Lock the artwork revision that produced the approved sample.
The checklist below turns that sequence into a release record. It is written for buyer-side specification, so each row names the evidence a supplier should be able to return.
| Checklist item | What to record | Evidence to hold |
|---|---|---|
| Structure | Packaging format, internal or external dimensions, opening direction | Approved structural sample or brief |
| Dieline | Revision identifier, cut, crease, glue and window areas | Released dieline file with revision name |
| Substrate | Grade, grammage or thickness, coating, print surface | Material specification or sample |
| Colour | Reference system, spot colour list, acceptable tolerance | Colour specification and a physical reference |
| Artwork build | Layer names, outlined or packaged fonts, embedded images, effective resolution | Packaged source folder plus a reference PDF |
| Finishing | Separate named layers for each finishing effect and its coverage area | Finish separation proof |
| Data elements | Barcode data, size, quiet area, placement, language version | Code file and written proof approval |
| Approval | Approving person, revision released, date, obsolete revisions removed | Signed release record |
Two of these rows carry more weight than the rest, and both are usually the ones buyers skip. The dieline revision and the data elements are where a visually correct file becomes a commercial risk.
Practical anchors matter when you set the sequence against a real calendar. UneedAid works from a minimum order quantity of 1,000 pcs and runs sample-based validation before bulk, which means the artwork release sits between two physical checkpoints, the sample and the production run. A missing dieline at that point costs a full revision cycle, not a design tweak.
Colour reference: why a screen preview is not a specification
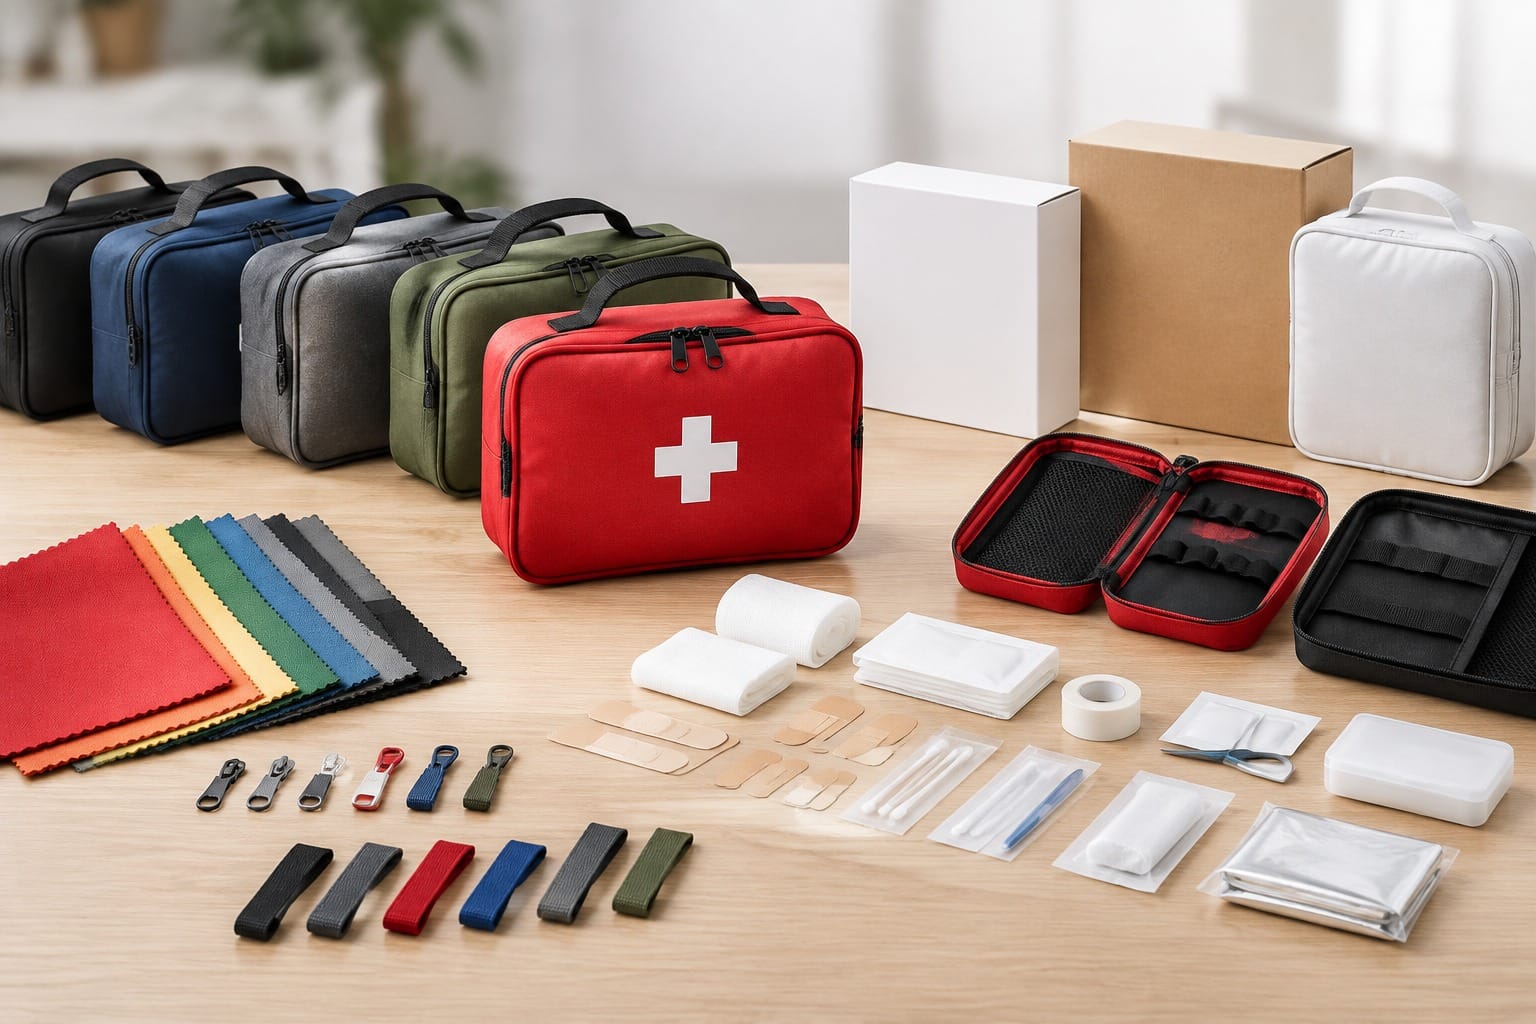
Colour is the field most often recorded as a feeling. Buyers describe what they want to see, and suppliers quote against a monitor preview. The International Color Consortium describes the underlying discipline through its published ICC colour management specifications: the profile format was first published in 1994, the current version is ICC.1:2022 at profile version 4.4.0.0, and the specification was published as the international standard ISO 15076-1 in 2005.
Two details from that source are worth carrying into a private label artwork prepress checklist.
First, the version 4 profile format was introduced to remove ambiguity in earlier versions and to define the profile connection space more precisely. The ICC states that when pairs of version 4 profiles are used, they should always produce the same result regardless of which colour management module is used. That is the point of naming a profile rather than a colour name.
Second, the ICC itself notes packaging as an example where complex surface reflectances need processing beyond simple colorimetry, which is the reason its later iccMAX architecture exists. In plain terms: a board, a film and a moulded case can each hold the same reference and still print differently.
For a private label artwork prepress checklist, record three things and stop guessing:
- the colour reference system and the exact identifiers used in the artwork
- the print condition or profile the proof was produced under
- the tolerance you will measure, and on which substrate
Dieline, bleed and safe area: the structural review
A dieline is the flat technical layout that positions graphics on the package. It carries cut lines, crease or fold lines, glue areas, panels and bleed boundaries. Artwork built on an obsolete dieline can look perfect and still fail, because a small shift in a glue flap can move a fold straight through the brand mark.
Three checks catch most of it before a proof is requested, and all three belong in the private label artwork prepress checklist:
Cut, crease and glue stay out of the printable graphics. Ask for the dieline on its own layer, locked, and confirmed as non-printing. If the dieline is merged into the artwork layers, the print file becomes harder to review.
Bleed and safe area are stated as numbers, not adjectives. Backgrounds extend to the bleed boundary, and critical content stays inside the safe area. Give the numbers in the release record so the factory does not choose them.
Visible stock areas are reviewed as part of the layout. Some parts of a package disappear in the assembled form: lid overlaps, tube seams, inner folds and glue zones. Reading the assembled structure before positioning branding prevents a second revision.
Barcode placement belongs here too. Its size, quiet area and position are structural decisions, and a code placed across a crease or a curve will be rejected at retail regardless of how well it is printed.
Finishing layers and a fixed primary colour set
Finishing is where a flat artwork file quietly becomes several files. Foil, embossing, debossing, spot varnish, white ink and windows each need their own named layer with vector shapes and no soft edges. When those effects are merged into the main artwork, the production team often has to rebuild the file before it can be quoted accurately.
Colour variation across spot inks is a parallel problem, and it has been studied from the packaging side. Fogra’s research project on a printing standard for packaging printing addresses the economics of variable spot colours and proposes operating multicolour printing with a fixed set of seven primary colours, CMYK plus orange, green and violet.
The results of that project are specific enough to inform a buyer conversation. The proposed standard has two parts. The ink standard is based on ISO 2846-1 and defines target colour values for the orange, green and violet inks on a reference paper within a certain film thickness range and transparency. The process standard is structured similarly to ISO 12647-2 and describes a substrate category together with solid tone colours and tone value increases on production papers. The recommended printing sequence is KVCGMOY, and the project notes that the spot colours must be screened non-periodically, using frequency-modulated screening, to avoid moiré.
A private label artwork prepress checklist does not need to specify a seven-colour press. The practical consequence for a checklist is simpler: ask how each named spot colour maps onto the press that will actually run the job, and ask whether that mapping changes with the substrate.
Version control across SKUs, markets and languages
The hardest artwork problem in first aid supply is not a single carton. It is twelve cartons, four languages and three destination markets sharing one visual system.
| Matrix column | Why it is recorded | Common failure if omitted |
|---|---|---|
| SKU identifier | Connects artwork to the product record and the barcode | Two SKUs ship with the same file |
| Market and language | Determines which regulated text panel applies | Wrong language panel on a full run |
| Dieline revision | Confirms the structure has not moved | Artwork sits on an obsolete layout |
| Colour reference | Keeps variants visually consistent | Market variants drift apart |
| Revision and date | Identifies which file was approved | Nobody can identify the approved file |
| Approver | Names the person who released it | Obsolete revisions stay in circulation |
One rule keeps the private label artwork prepress checklist manageable: the buyer owns the version matrix, and the supplier works from it. UneedAid documents files per SKU and leaves destination-market compliance confirmation with the buyer. A matrix makes that split visible, because every row names the party responsible for each panel.
If a buyer cannot say which revision is current, the order is not ready to be printed. That single test resolves most disputes before they start.
FAQ
Who owns the artwork files in a private label project?
The brand buyer normally owns the artwork, the brand marks and the version matrix it produces. The supplier holds the technical files needed to print: the dieline in use, the separation layers, and the production profile. This split should be written into the release record, and the private label artwork prepress checklist should name it, because it decides who can approve a change later. Buyers should also ask for the packaged source folder with linked images and fonts, not only a flattened PDF. A PDF proves intent. A source folder lets the next revision happen without rebuilding the layout from scratch.
Should artwork be supplied in RGB or CMYK?
Supply print artwork in a print-referenced colour setup, normally CMYK with named spot colours where a spot is genuinely required. RGB is a display encoding and its gamut is wider than most print processes can reproduce, so a conversion at the factory can shift colours noticeably. The safer habit is to decide the colour reference before the artwork is built, then approve a physical proof on the real substrate. If the brand has fixed digital colours, record the conversion the buyer has accepted, so the same shift is not renegotiated on every reorder.
How many artwork revisions should a buyer expect?
Two or three revisions are normal on a first private label project, because the dieline, the substrate and the regulated text panel usually arrive at different times. The count rises when a structural change happens after the artwork is approved. That is why the dieline should be frozen before artwork sign-off rather than generated afterwards. A private label artwork prepress checklist should separate structural revisions from copy revisions in the release record. Structural changes restart the layout. Copy corrections rarely do. Tracking them together hides which changes are actually costing time.
What is a dieline revision, and why does it change?
A dieline revision is an identifier for a specific release of the cut, crease and glue layout. It changes when the physical structure changes: a new product dimension, a different insert, a modified glue construction, or a switch of converting equipment. Material thickness alone can change a workable layout. The revision number is what lets a buyer and a supplier confirm they are discussing the same structure. Without it, a conversation about artwork can be a conversation about two different packages, and the mismatch is only discovered when the printed sheets arrive.
Can one artwork file be reused across several markets?
Rarely without edits, and the panel that usually changes is the regulated text. Market language requirements, mandatory statements and warning text differ by destination, while the visual system often stays constant. The efficient approach is a base layout plus market-specific text panels, all tracked in one version matrix so each SKU maps to exactly one panel combination. Ask the buyer to confirm which market each panel is intended for, and keep that mapping with the release record. A shared base layout reduces design cost, but it does not remove the need to confirm requirements per destination.
Closing the prepress step before production starts
A prepress release is small compared with a production run, and it decides how much of that run is usable. The private label artwork prepress checklist above is deliberately unglamorous: structure, dieline revision, substrate, colour reference, finishing layers, data elements, approval. Together they convert a file exchange into a record both sides can audit.
For the printed surface itself, see this print production framework for custom first aid packaging, which covers how substrate and print system choices change what artwork can carry. Where the packaging structure is still open, the companion guide on private label first aid kit packaging options explains how formats and layers are selected before artwork begins. Buyers specifying a bag or case alongside printed packaging can compare the current emergency medical bag and case formats before freezing the dieline.
Send the version matrix and the colour reference with the request, and the first quotation stops being a guess.